Overview
This lesson requires that leaf packs are assembled and placed in the stream 3-4 weeks before data collection takes place. This step can be completed on your own, or done together with the class.
For complete instructions on leaf pack assemblage and placement go to Stroud Water Research Center’s Leaf Pack Network.
Please note: leaf packs for this lesson are filled with 15 grams of dried leaves instead of 30 grams.
This website also gives you the opportunity to become part of the Leaf Pack Network which allows you to share data with others completing leaf pack experiments around the world. Remember to make one extra leaf pack to use as a visual aid throughout the lesson.
Materials
- six mesh bags
- waterproof labels
- dead leaves – preferably dry and of the species that are found next to or near the stream you are working in
- waterproof labels
- permanent marker
- nylon twine
- scissors (to set up and retrieve leaf packs)
- scale to weigh leave
- hip boots/chest waders (or water shoes if weather is warm)
Procedure
Pre-Field Trip Preparation
Creating Leaf Packs
Collect dead leaves, preferably dry and of the same species that are found next to or near the stream you are working in. Prepare three mesh bags for the riffle leaf packs and three mesh bags for the pool leaf packs. Use the scale to weigh 15 grams of dry leaves for each leaf pack. Place the 15 grams of dry leaves into each mesh bag. Tie up each bag closed tightly. Make sure each leaf pack is labeled (in permanent marker): #1, 2, or 3; riffle or pool; date placed in stream; and school name. Loop a long length of nylon twine or string through the mesh of each bag so the leaf pack can be attached to a large rock in the stream.
Placing Leaf Packs in the Stream
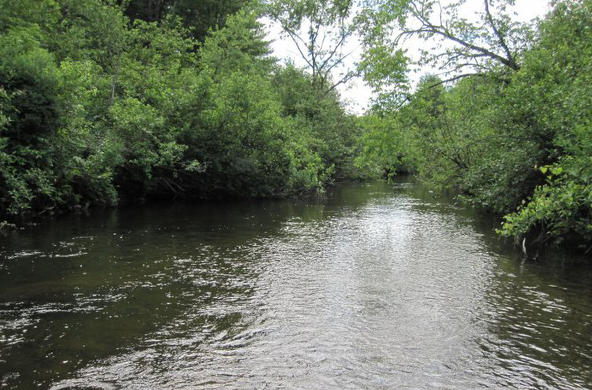
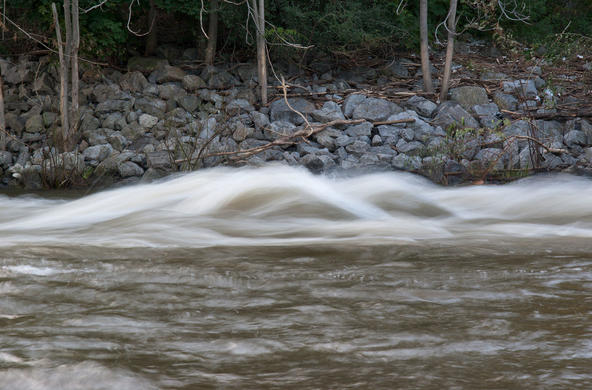
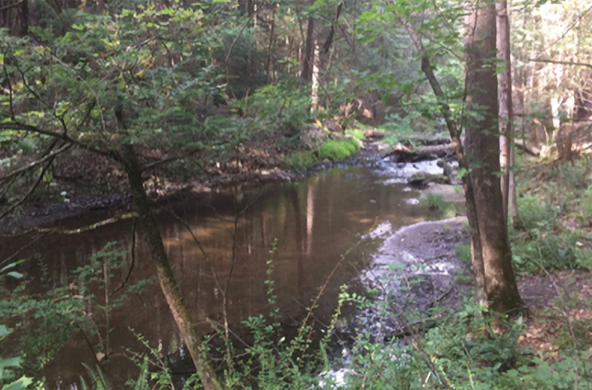
For the purposes of this lesson, three leaf packs should be placed in a pool and three in a riffle microhabitat of your stream. Pools are identified as areas where the water is still and generally deeper than other areas of the stream. Riffles are areas that are rockier, shallow and you can see the water break the surface. Tie leaf packs directly to existing rocks in the stream (when possible, in a riffle habitat). If there are no rocks, use overhanging roots or use cinder blocks with reinforcing rods (rebar). Position leaf packs (facing upstream) so that as much surface area of the bag is facing the current as possible. Make sure all leaf packs are submerged and securely tied. (Note: Leaf packs that flap with the current are not properly placed.)
Optional: You may wish to record sampling location data, such as stream name, major watershed, latitude/longitude, elevation, water/air temperature, and a site map showing leaf pack placement – this can be useful when going back to collect leaf packs later. It’s also a good idea to record any precipitation/storm events that happen while your leaf packs are in the stream.
Keep the leaf packs in the stream for 3-4 weeks. If possible, check the packs periodically to see that they remain submerged.
During the Field Trip
Collecting Leaf Packs at the Stream
Leaf packs need to be collected when students begin exploring the stream and making observations. Be sure to label the bucket that leaf packs are transported in to keep pool and riffle packs separate. As you collect the leaf packs put them in a fine mesh net (kick net) and swish them in the stream a few times to clear out some of the fine sediment that may have accumulated in the pack. This sediment makes the water muddy and difficult to see the organisms when you begin sorting them in the classroom. Be careful not to lose any of the organisms as you are doing this. Put each leaf pack in a gallon sized Ziploc bag clearly labeled: Leaf pack 1, Leaf pack 2, Leaf pack 3 and either riffle or pool.
Students can record sampling location data at the time of leaf pack collection. Students can use the Leaf Pack Network’s Habitat Data Sheet to record data.
Lab Activity – Supplementary Discussion
After reviewing how the experiment was set up and before collecting data, students can be shown the leaf packs that were collected in the stream and compare these to a leaf pack that has not been placed in the stream. How do they look different and why? The leaf pack from the stream will look black and the leaves will be smaller and wet.
The black slime on the leaves is the biofilm that has developed over the past weeks. This is made up of microbes that start the breakdown of the leaf material. Ask students: Why does a leaf pack make a good home for a macroinvertebrate? In addition to providing shelter, macroinvertebrates like to eat the biofilm that has colonized the leaves. Biofilm can be compared to peanut butter on a rice cake, it contains the nutrients that the organisms need while the leaf material passes through the gut of the organism and emerges in feces as fine particulate organic matter.
It should be pointed out that in the autumn, leaf packs naturally form in the stream from the input of leaves from surrounding trees and are the base of the food chain in these ecosystems. Using leaf packs replicates an event that happens naturally in the stream in a controlled manner.
This protocol has been adapted from the Stroud Water Research Center’s Leaf Pack Network.


